Wednesday, June 27, 2012

Soya Bean Chiffon Cake


Yes, I finally found the time and purpose to post something on my blog (which I had neglected for quite some time). I have been baking and this time it is back to making that perfect chiffon. I believe I have mastered the art of making that soft and fluffy cake. As such, I am venturing into different 'flavours' of chiffon. 

I have heard, seen, read and been introduced to Okashi Treats by Keiko Ishida before. However, what made me an instant fan of Keiko was when my aunt gave us a cake she had baked using one of the recipes from the book.


I instantly took to the Matcha and Soya Bean Chiffon cake recipes. I did the former and it turned out excellent. Baked two more times and each time, the perfect matcha cake was produced! I proudly showed my family how my chiffon was uncannily similar in color and texture to the photo in the book. I will post that matcha chiffon one of these days...

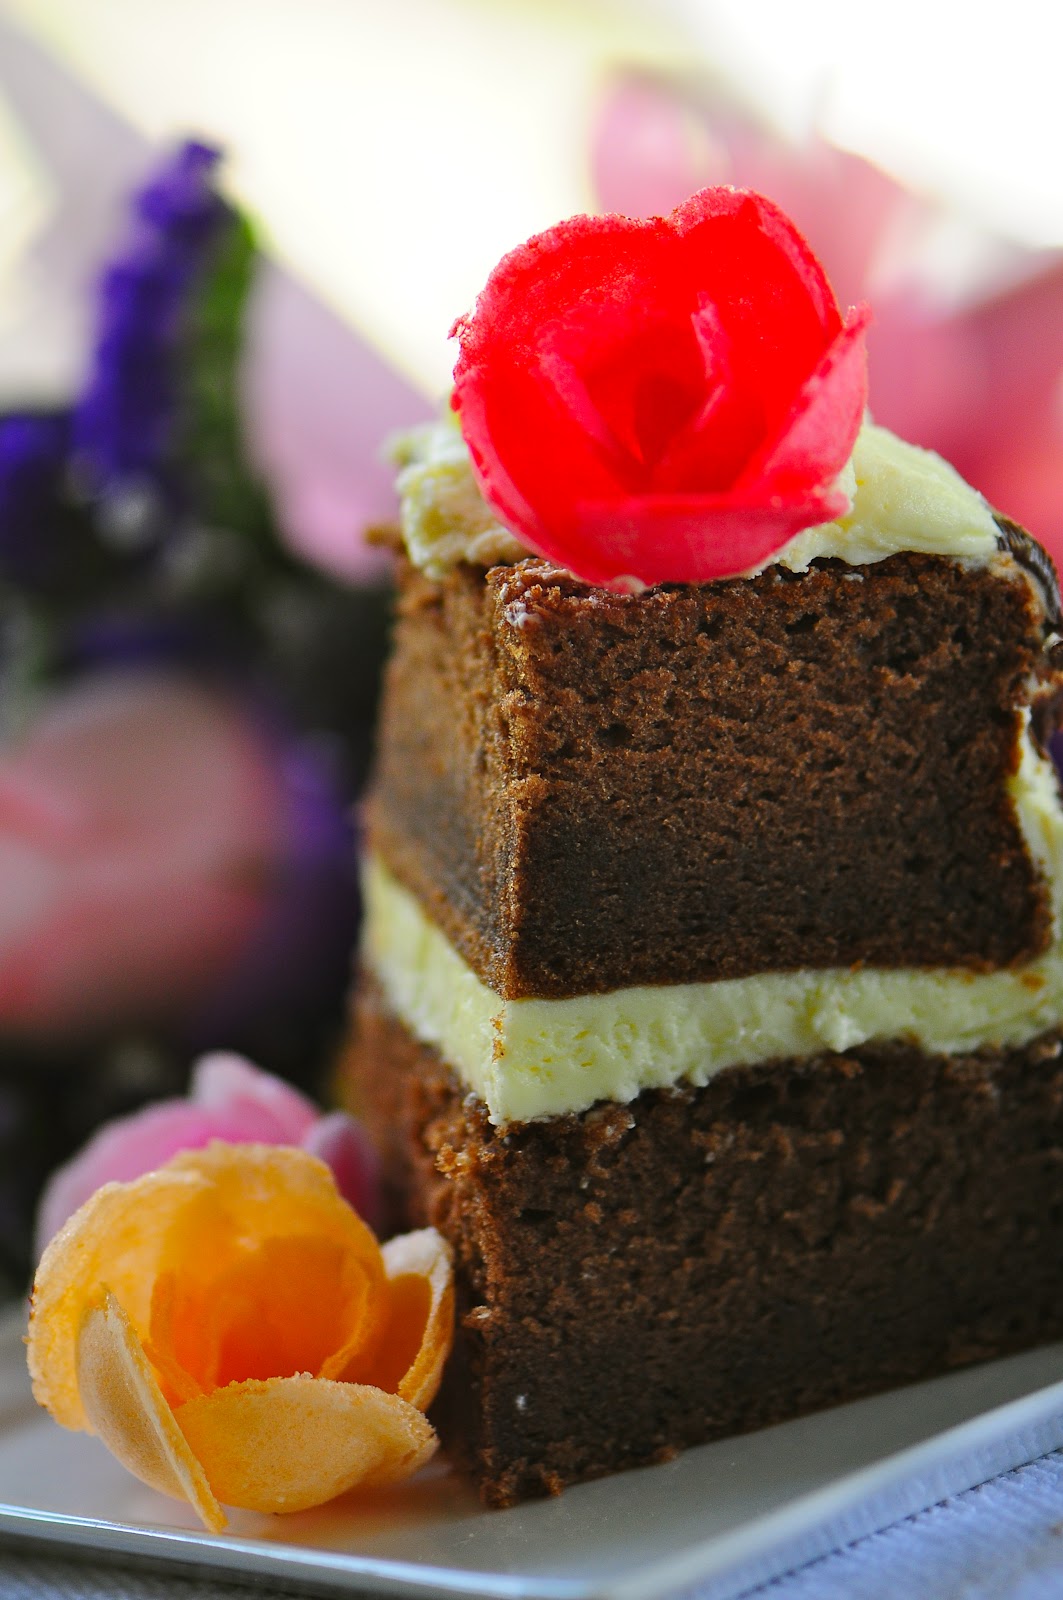
The chiffon above is the soya bean version ie before putting on the whipped cream. I was pretty excited to try something different and goggled to find out how I am able to get the soya bean powder. Having returned from a holiday (again) in the Land of The Rising Sun - this time Osaka, Nara and Kyoto, I was interested in all things Japanese. So I visited Meidiya at Liang Court and I must say I was extremely pleased to find kinako or soya bean powder.


I always face the issue of creaming my cakes. I attempted a few times and each time, I am dissatisfied with how they turned out. What the heck! But taste wise, I should say, it is an acquired one. The fragrance of the soya bean powder is just right and any diabetic patient will appreciate and be able to enjoy a slice. I must say, it was a success and I would bake it again since I have a packet and a half of soya bean powder left in my pantry.

I was fortunate to get Keiko's book from the library. But the recipe can be obtained from another blogger's post here - My Baking Cottage, I chanced upon Aimei's blog and thus must acknowledge her here.

So good luck to all those who wish to attempt the Soya Bean Chiffon. By the way, if someone could tell me how I can make my whipped cream stiffer and last longer when it is out of the fridge, please let me know...

Monday, April 9, 2012

Good Friday & Hot Cross Buns


I have been baking breads lately. Yes, never thought of venturing into this realm of yeast and dough. I had attended a couple of bread making classes before and that was like 8 years ago or so. Never understood the kneading and proving concepts. I had always thought it was hard work. The easy way out was to just go to a bakery and buy off the shelves - pork floss buns, raisin buns and sugar buns. Why bother with the 'hard work'?


Until I signed up for a bread making class at a community center. The instructor was excellent in convincing me that bread was amazingly easy to do. Tried out a couple of recipes of buns (mentioned above). First few were a liitle hard or too flour-ly as my wife had put it.


I did not give up. It was easy to do and yet I have not reached that perfect bun which is soft and fluffy. I pushed on and one day, viola!  I just got it! Now each time I make bread, or rather simple buns, I get them right. The texture, the softness and the lightness of fresh buns you get at the common bakery. Having mastered the skills and developed the confidence, I decided to do my own version of the hot cross bun. I threw in raisins and left out the cinnamon and other spices. I know that my boys have yet to acquire the taste for those spices. So my version is simply a raisin bun with a cross on top. 


To add variety to it, I checked out Martha Stewart hot cross buns recipes. I was lucky to come across an old video, made in the year 2000, that featured Martha's mum, Mrs Kostyra, on her show and she was demonstrating how to make her delicious and traditional hot cross buns. Here is the link - Hot Cross Buns. I followed the video, step by step, and the outcome were the buns as seen above. The cross is made up of icing powder and milk. I had left out the lemon juice as required in the original recipe. 


I believe I will be baking breads for breakfast for my family from now on. Perhaps I better say that I meant at least once a week.


Sunday, March 25, 2012

Cranberry-Orange Chiffon Cake

Orange Chiffon with dried cranberries
I have been baking different types of chiffon cakes for the past week or so. No, not the pandan ones which is so common, but coffee, earl grey, lemon and orange. In particular, orange chiffon with bits of dried cranberries thrown in. 

I came across many recipes for orange chiffon cakes and decided on one from a blogger who goes by the name of Florence in Do What I Like. Check out the link here for the recipe - orange chiffon .


The cake turned put exactly what she had been raving about. It was fluffy, moist and simply delicious. However, I tweaked the recipe a little. I did not use warm orange juice but freshly squeezed juice,  about 87ml to 90ml. I used rum as the alternative to vanilla extract but I reckoned I should have used either Cointreau or Grand Marnier to enhance that orangey flavour. 


When I saw that the batter was rather plain I wanted to add something to it. What goes well with orange ...And since I had a packet of cranberries in the pantry, I decided to throw some bits in. Well, the amount of cranberries, I guess, is really up to you. Truth be told,  I regretted not folding in more cranberries.

So thanks to Florence for sharing her recipe. Oh yes, I covered my chiffon with snow powder to balance the 'sour' cranberries. 

Saturday, February 18, 2012

Retrolicious Valentine's Day


A retrolicious cake - that was what I called it as I baked this wonderfully moist and light sponge cake on Valentine's Day. To be more precise, I named it, "Old Flame". It is a chocolate sponge cake, with a dash of Cointreau, topped with rich vanilla buttercream and wafer roses. The sides are covered with bittersweet chocolate flakes. 


For those who live in this sunny island, these wafer roses used to be common sight and popular toppers for light sponge cakes sold at bakeries. 

My sons and their friends who happened to be in the house on the day I creamed the cake were fascinated with those roses. They tasted the wafers after much persuasion and politely turned down when I offered them more. 


To make it more nostalgic, I placed a slice of the cake over the famed "Good Morning" hand towel. I believe these towels are still being used as hand towels in some homes and in some beauty salons. They are cheap and absorbent. They bring back memories - I am sure - for the initiated.


Although I was pleased with the cake (it tasted better the next day), I think I should have used only one heart-shaped pan instead of two for layering. The cake was rather high but the taste made up for it. So Happy Belated VD, everyone!

Tuesday, January 31, 2012

For the Guitar Man

Red Velvet with Cream Cheese Frosting
It has been ages since my last post. I have been baking just as frequently as before. Took great shots of my bakes. Never got down to post them and write about them. There goes another missing piece of the history of my baking adventure. But it is never too late!

I just had to put up this post. It is my son's 18th birthday. Yes, I am a 'young' dad. I shall not define young here but note the inverted commas I have attached to it.


My son Theodore adores my bakes, in particular, my Red Velvet. He literally slurps up the cream cheese frosting neatly twirled on top of each Red Velvet. My son Theodore likes to play the guitar. Hence the title of this blog. He owns a classical, an electric and an acoustic. So naturally, for his special 18th years on this earth, I had to top each Velvet with not just the frosting but a guitar topper. Pretty neat, I must say. Family members were thrilled and amused at each different topper. 


Ironically, the birthday boy gave a cursory glance at all the cupcakes, picked one at random, removed the topper and wolfed down the cupcake. That was it! I mean, that was it? I am very much curious to know if any bakers out there had experienced this once in their life time. That is, you put in much effort and love to bake and decorate for a loved one only to get an immediate less-than-excited reaction. It hurts! But I reckon an 18 year old wants to be cool about all things and anything. That night, as he was about to go into his bedroom, he called out to me and said, "Thanks Dad. Thanks for the cupcakes". 


You cannot imagine the emotions that swelled within me at that point of time. I shall continue to bake for my family. I shall bear with the unspoken appreciation from my two teenage boys. They are good boys. Excellent fine young lads.

The recipe for the above Red Velvet cupcakes is taken from Barefoot Contessa's How Easy Is That? You may also want to refer to my post dated 31 August 2011.

Saturday, December 10, 2011

Tis the Season to be Holly...

Holly Cupcakes
It has been quite a while since my last post. Not that I haven't been baking. On the contrary, I have been baking at least once a week.  Just that I had the writer's block when I wanted to update my blog. I should have blogged about my most challenging experience, that is, baking close to a hundred Red Velvet Cupcakes for my mum's 80th Birthday in November. Praise the Lord - all's well that ends well.

Anyway, the Christmas mood has suddenly sunk into me. Been working and could not apply leave until now. Going on a vacation with my family to Tokyo - free and easy. But before I go, I had the strong itch to make some chrismassy cakes. Imagine being bombarded by all the food magazines that feature on their covers Christmas bakes and food. Well, since I am planning the dessert menu for the family's annual Christmas Dinner - just like any other year, I thought I should experiment with some cakes and frosting.

Came across this site that shouts "The Ultimate Vanilla Cupcakes". Go check it out yourself - a must at www.cupcakeproject.com


Followed the very simple recipe, every step of it, except adding in the sour cream. Didn't have it in my pantry so I substituted both the sour cream and milk with buttermilk. Not bad actually. It has become my own "The Ultimate Buttermilk Cupcakes"! Besides, if you checked out the recipe, it did not call for the decorations above. 


 I was inspired to make the Holly Swiss meringue buttercream after leafing through Martha's Stewart's "Cupcakes". Didn't have the confidence at first to make the buttercream. Well, it turned out quite good  as far as I am concerned and I should say I am rather pleased with it.


After my trip, I am thinking of baking a Christmas...

Wednesday, September 7, 2011

Devil's Food Cake

Decided to pull out Martha Stewart's Cupcakes from the shelves and flip through the pages to see what I should bake over the weekend.  Though I have the book with me for the past one year or so, I really never got down to try out the recipes. I read on the internet that the book is a must-have as it features 175 recipes.
Back to what I should bake on that day. It was a tough choice especially when I do not have any particular cupcake in mind. The appealing and attractive pictures of the many featured cupcakes did not help in making a quick decision either. But I finally settled for the Devil's Food.
The buttermilk added smoothness to the cake; the sour cream lent itself a tangy taste and as a whole the cupcakes were deliciously chocolate-ty. 


I usually do not include the recipes in posts as I respect copyrights or unless I tweak the recipes. However, below are the recipe for this fabulous cupcakes which I copied from  Martha's website mainly for the convenience of readers. It is the same recipe from the book. 

Ingredients
  • 3/4 cup unsweetened Dutch-process cocoa powder
  • 3/4 cup hot water
  • 3 cups all-purpose flour
  • 1 teaspoon baking soda
  • 1 teaspoon baking powder
  • 1 1/4 teaspoons coarse salt
  • 1 1/2 cups (3 sticks) unsalted butter
  • 2 1/4 cups sugar
  • 4 large eggs, room temperature
  • 1 tablespoon plus 1 teaspoon pure vanilla extract
  • 1 cup sour cream, room temperature
  • Chocolate Ganache Frosting
  • Directions
  1. Preheat oven to 350 degrees. Line standard muffin tins with paper liners. Whisk together cocoa and hot water until smooth. In another bowl, whisk together flour, baking soda, baking powder, and salt.
  2. Melt butter with sugar in a saucepan over medium-low heat, stirring to combine. Remove from heat, and pour into a mixing bowl. With an electric mixer on medium-low speed, beat until mixture is cooled, 4 to 5 minutes. Add eggs, one at a time, beating until each is incorporated, scraping down sides of bowl as needed. Add vanilla, then cocoa mixture, and beat until combined. Reduce speed to low. Add flour mixture in two batches, alternating with the sour cream, and beating until just combined after each.
  3. Divide batter evenly among lined cups, filling each three-quarters full. Bake, rotating tins halfway through, until a cake tester inserted in centers comes out clean, about 20 minutes. Transfer tins to wire racks to cool 15 minutes; turn out cupcakes onto racks and let cool completely.

As you can see, I did not make the ganache frosting. Instead, I made my favorite cream cheese with brown sugar frosting. The pearly white sugar balls are my little touches to an otherwise plain frosting. 
Now, which other recipe should I use for the next batch of cupcakes...